A quick guide on replacing feed rollers on a HP Laser jet 1320D:
This is a general guide that will also apply to other similar HP models.
Worn feed rollers and separation pads are a common cause of paper jams and feeding problems.
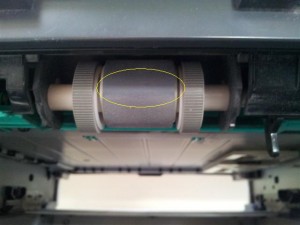
Note the smooth appearance of the lead edge of this roller (hard to see in a picture).
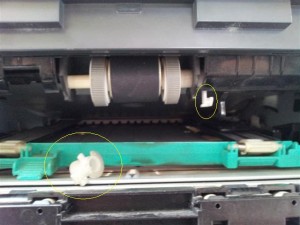
To replace this roller you need to remove the feed roller locking pegs found on both sides of the roller. The left peg can be removed completely by twisting the peg down and towards you then sliding to the left. The right hand peg should just be twisted down and slid to the right till it is out of the way. Then the roller can be removed by sliding it left and dropping the right side down.
Re-fitting is performed by reversing the removal instructions. Note: make sure that the feed roller drive slot meshes with the feed drive.
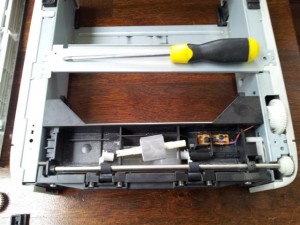
The optional cassette feed roller is replaced in the same way except the procedure is done from the top of the cassette after the cover plate is removed

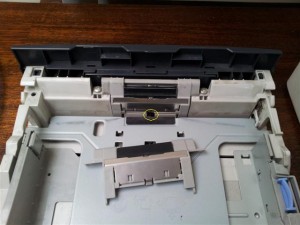
Another part to replace is the separation pad which is found in the front of the cassette. Its job is to separate pages so only one page may feed at one time. Replacement is relatively easy, but make sure the earth contact spring contacts the metal plate of the separation pad (circled).
If you have any questions or find this post helpful please leave a comment.
Thank you.


