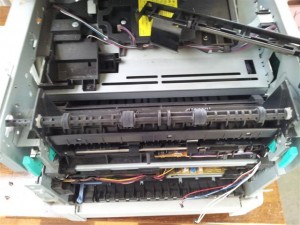
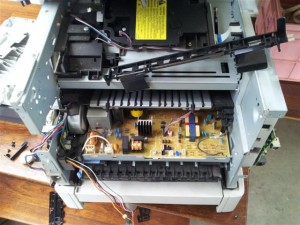
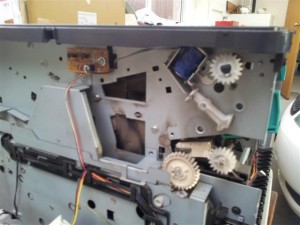
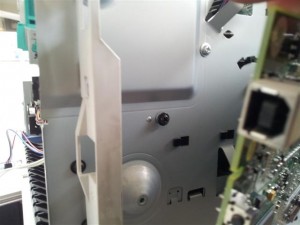
As this is a complicated procedure I will only cover the detail briefly. This replacement should only be undertaken by someone with a high level of technical ability. First remove the side covers, then the back, and finally the top can be removed. After that you will need to remove the PCB from the left side and the little gear box on the right side (to do this you will have to remove the cooling fan).
Then remove the exit roller and gear. Un-loom all the required cables and remove the cable carriers. You also have to remove the main fuser drive gear. With all that removed you should be able to remove the fuser from the printer for replacement. That should leave you with something like this: From here it is just a case of putting everything back together in the reverse order making sure the fuser locating lugs and pegs fit nicely into their cutouts. All going to plan you should have a printer that gives nice streak and jam-free copies. 

