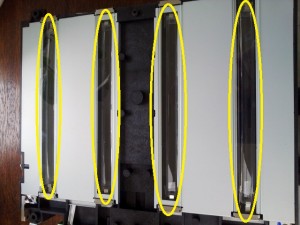
The laser glass slits can get dirty and affect copy quality over time on any laser printer (usually causes fading of prints). On Brother MFC9440CN it is easy to clean the glass slits.
- First remove the drum unit and toners.
- Inside the printer above the drums you will see 4 slots.
- Take a clean lint free cloth and wipe side to side all four slots.
- Refit drum and toner assembly.
- Test printing.
If you don’t notice a difference and you think the laser unit is still at fault you may have dust in the laser unit itself. In this case the following procedure is for the complete removal and cleaning of the laser unit.
Note: This guide is designed for people with some technical skills as this procedure is quite complex and involves a semi-major strip down of the printer.
To start this procedure you will need a number 2 Phillips screw driver and some lint free cloth and cotton buds.
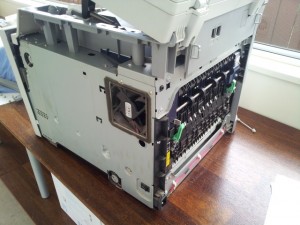
First remove the back and side covers.
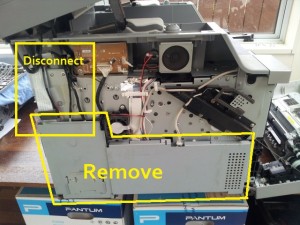
Then on the main PCB side (left) you will need to remove the PCB cover plate and disconnect and un-loom all cables leading to the scanner and ADF unit.
Next you will need to remove the scanner and ADF unit. This is done by removing the support leg guide (white plastic) and springs. There is a little locking peg in the front of both leg guides that needs to be removed and then it is easy enough to un-clip the guide and springs.
From there you will need to remove all the screws holding the top cover as well as uncoupling the USB connector.
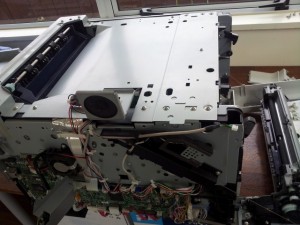
From this point it is an easy job to remove the cover plate and the 4 screws holding the laser unit in place.
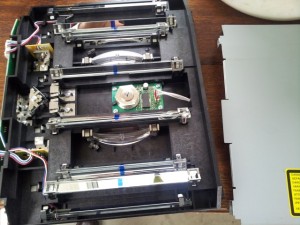
To 0pen the LSU all you need to do is pop the 2 clips on one side of the unit and lift the LSU lid off.
Clean is then like any other laser unit, clean all mirror faces and lenses with your lint free cloth and cotton buds (don’t forget the poly mirrors).
You may also take the opportunity to give the glass laser slits a good clean.
Reassembly is just a case of refitting every thing back in the reverse order.
